
Hi there! If you missed last week’s post, I’m participating in this fall’s One Room Challenge. Check out all the makeovers here, and read my first week’s post here.
***
Do it right, or do it twice.
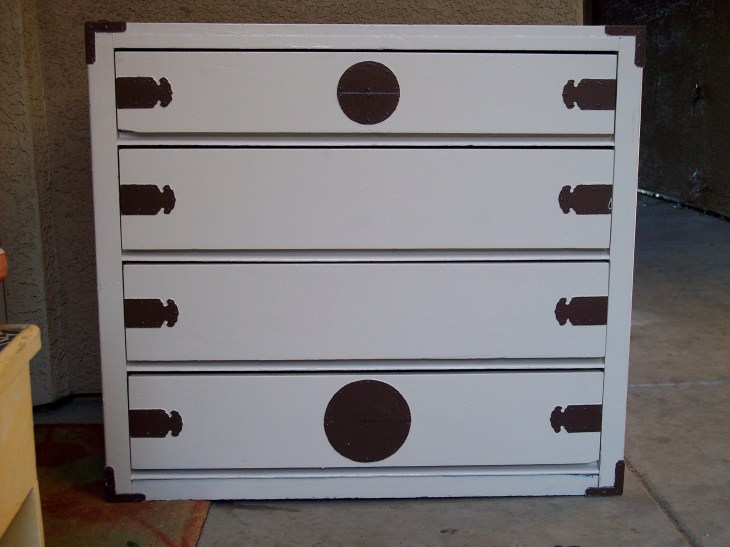
That’s the story of this dresser. I bought it when we lived in Reno, Nevada—loved it so much in the thrift store that I bought it, then asked my husband to figure out a way to get it back to our tiny apartment in the trunk of our old Buick. I loved it for its hardware and wood construction, but it was covered in thick layers of paint, even the hardware.
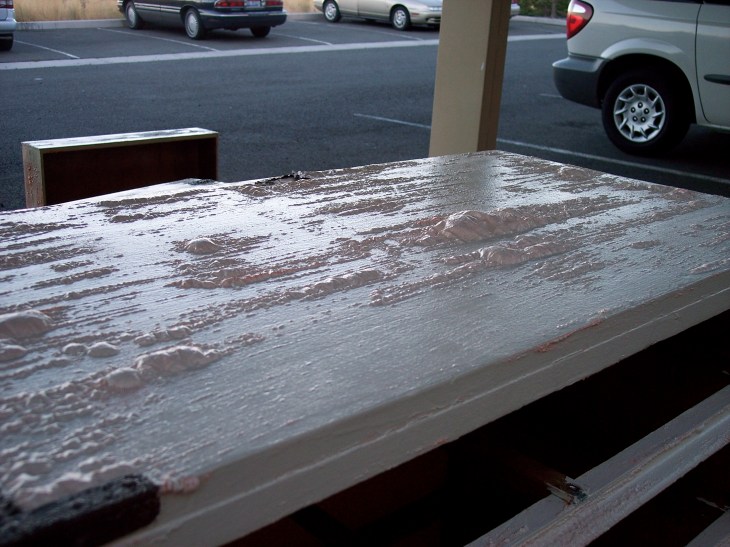
Several coats of stripper and 20 hours later, it was ready to be sanded and painted again, but I was too afraid to remove the hardware.
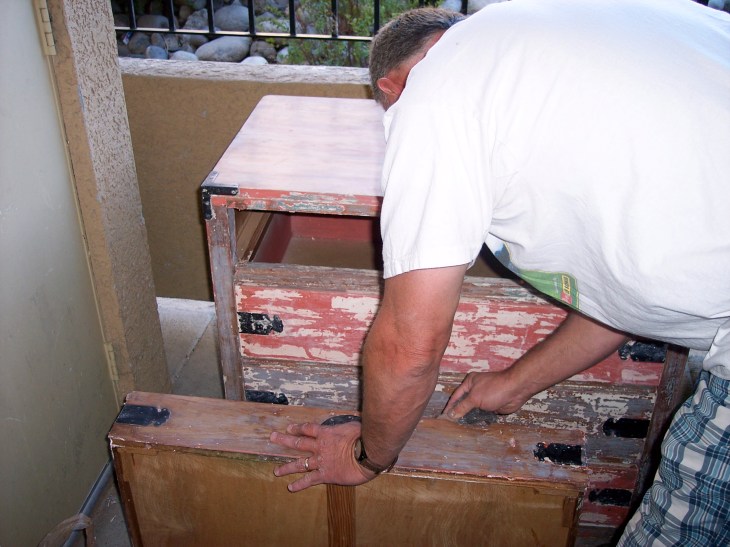
Even my poor dad got roped into helping with this project. See the hardware still in place?
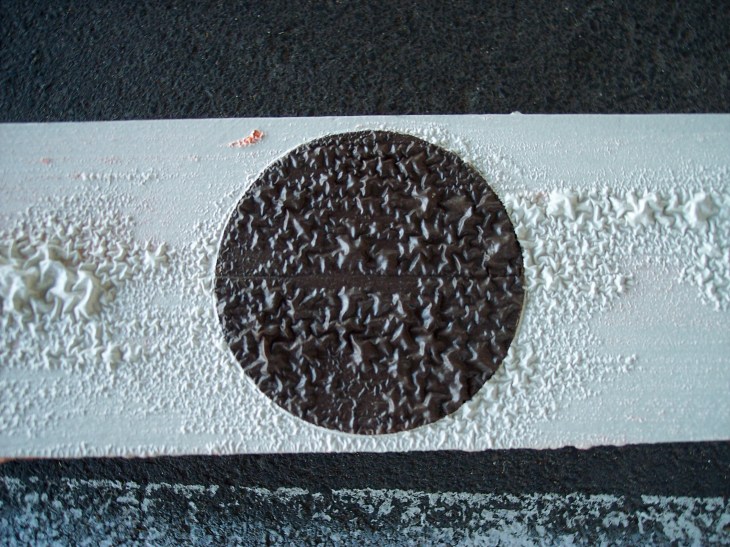
The finish nails securing the hardware to the dresser couldn’t be pulled out with a hammer, and I was afraid if I tried to remove the metal plates with any other tool, I’d gouge the wood.
So I did it wrong. I tried to tape off the hardware and paint around it. It never looked good, not to mention I chickened out on the color I wanted to paint it—a mossy green—and went with a “safer” option that looked a lot like a yellow-green Crayola crayon.

When I was getting ready to make over the boys’ room upstairs, I knew I wanted to use that old campaign dresser. But I knew I had to do it right this time.
I used an old metal paint scraper like this to get underneath the hardware and pried it off. Guess what? No gouges. I waited eight years to do this project right because I was afraid for nothing.

So here’s to doing something a little scary and taking a risk because it’s rarely as bad in reality as it is in your mind. And isn’t this the most heavenly shade of green? It might be the most perfect shade in God’s palette (SW Grandview if you’re interested).

Lining the drawers with patterned contact paper is always fun.
There are a million paint tutorials out there, but it should be said that using quality paint makes a big difference. I spent a little more and got Sherwin-Williams’ Emerald paint in a matte finish. This is THE perfect paint for a furniture redo; the self-levelers in this stuff leave zero roller lines, the coverage is excellent, there are no drips, and the matte finish conceals the furniture flaws. That’s worth a couple extra bucks if you ask me.

To get the paint off the hardware, I soaked it in water, dish soap, and TSP in an old Crock-Pot for six hours during the day (no This Is Us house fires for me).
Next week I’ll be sharing another bedroom project featuring a slightly unorthodox decision I’m hoping will help my kids want to play in their room. Until then, what do you think of this dresser, and what do you think of this color? Like my mom said, it’s such a happy shade for a kids’ room. •

I love how this turned out! This dresser is amazing. What a cool trick to remove the paint from the hardware and it looks great! I love the color you used. Excited to see their room!
LikeLike
I’m so glad you went ahead took a chance. The piece looks great and I love the color! I’m excited to see the finished space.
LikeLike
I love it. It turned out great. That’s a beautiful color and I can’t wait to try that fancy Emerald paint on a project I have coming up.
LikeLike