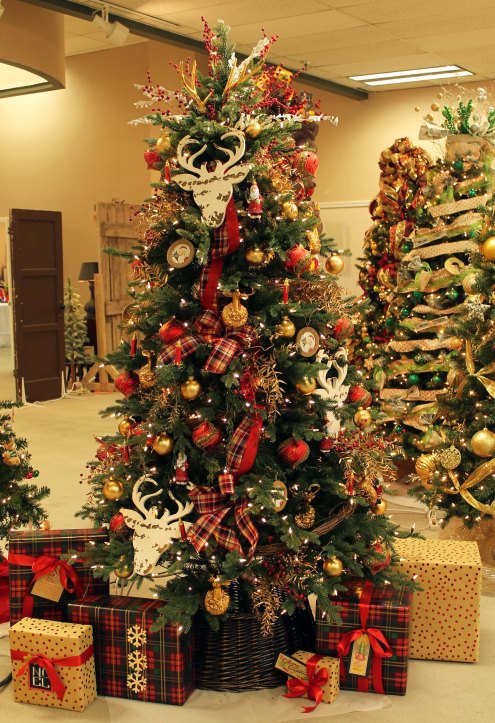
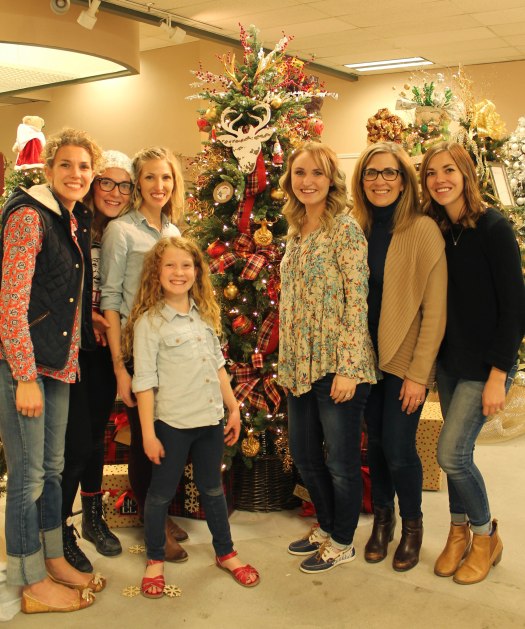
On Sunday my mom, sisters, and I decorated a tree for the local Festival of Trees. It’s been our annual tradition for a decade, and my mom has been part of Festival much longer than that. Proceeds go to an organization that provides meaningful employment for people with disabilities—such a worthy cause.
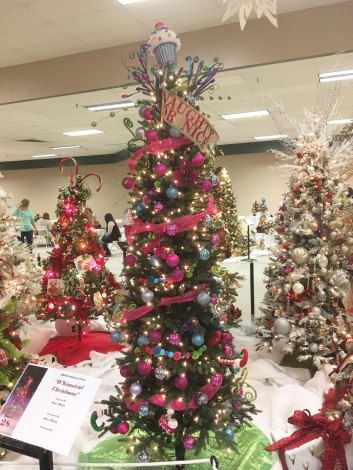
It’s inspiring to see so many beautiful Christmas trees and to pick up good tips from decorators who know their stuff—some of them get paid to trim people’s trees for the holidays—and I feel lucky to be along for the ride.
I’ve asked for lots of tips over the years, and I realize a “pretty” tree is subjective—people like different looks. But here’s a master list for decorating a full and festive tree a la Festival of Trees:
>> Add the right lights. Even though most artificial trees are prelit nowadays, less expensive ones might not be bright enough. Slim trees should have at least 100 lights per foot of height; regular trees need 125 per foot. Add strands if necessary; consider twinkling ones and bigger bulbs too.
>> For those with a real tree, start a strand of lights near the trunk, wind it out and around a branch, then back in towards the trunk. Repeat with successive branches. For a super-slim tree, winding lights around the trunk is sufficient and will reduce cord visibility.
>> Depending on your color scheme, adding colored lights adds depth. If, for instance, you’re hoping for a warm and cozy feel, add a strand or two of 100 orange lights close to the trunk for a glow within.
>> Fluff up artificial trees. Run branches between your thumb and forefinger to lift needles and separate boughs as needed. Wear gloves if it hurts.
>> Get your garland in order. Even though garland is often the main filler, wrapping a tree in ribbons or beads can be tricky and takes effort to look good. I have a love-hate relationship with garland; last year on my own tree, I didn’t use any at all.
But if you like garland, use fabric, mesh (not my favorite!), or multiple ribbons to fill visual holes in the tree, which also takes up a lot of space so fewer ornaments are needed. Use wire to attach garland to the tree, then pull sections of it toward the front of the branches, poofing up those sections and filling spaces as needed. Floral wire is a great way to keep stuff where you put it, and it’s cheap.
>> Try hanging your garland a different way. Instead of spiraling it around the tree, try taking it down the tree, attaching it to branches with wire and fluffing it as you go. See the difference in how this looks?

>> Make room for the fun stuff. As you fluff the tree, arrange the branches, laying some flatter to make space for large ornaments. Then start with filler, poking in berry or leafy stems. For items that might get lost in the sea of green, use groupings. Rather than including a flower here of there, group an odd number of stems together—three is a good standby.
>> Use what you love. Hang your favorite ornaments even if they don’t “match,” and try nontraditional things like clocks, sleds, plates, bells, or anything sentimental and lovely.
>> Decorate with your audience in mind. If you’re adding a focal point like a nativity, place it at the eye level of the people you hope will see it—that’s about five to five-and-a-half feet for the average adult (and obviously lower for kids).
>> Add ornaments in different scales. If all your ornaments are the same size, your tree will look like it belongs in a 1990s department store.
>> Hang decorations at different points on the branches—some close to the tips, others tucked inside. This will add dimension.
That’s a lot of tips! What did I miss? And when do you decorate your tree? I’ll be tackling mine the week of Thanksgiving.
P.S. If you’re thinking about wrapping presents already, check out all the free tag printables here: http://inmyownstyle.com/2016/11/christmas-printable-vignette-tour.html •

One thought